Tools & airbrush
Beyond paint and brushes sits the rest of the desk — the small tools that prepare a model, the light that lets you see what you are doing, and the airbrush that speeds up priming and basecoats once you paint a lot. This hub covers what earns a spot on the desk first, what can wait, and how to read airbrush specs without overspending. Airbrush safety — ventilation and a respirator — comes up front, because it is not optional.
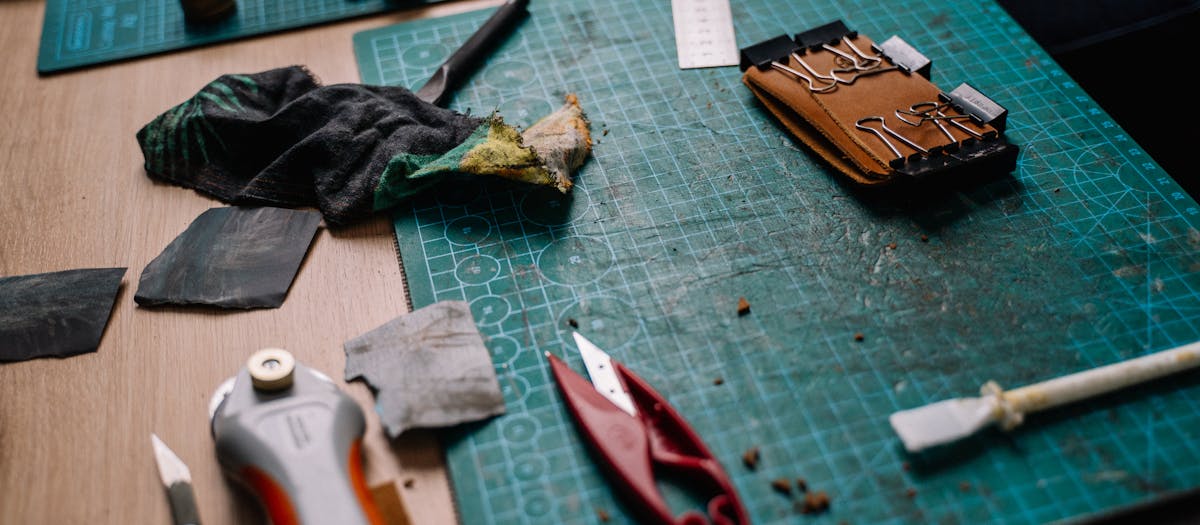
The prep tools you reach for first
Before any paint touches a model, it needs cleaning up. A few cheap tools do most of that work.
- Clippers — fine sprue cutters to remove parts from the plastic or resin frame cleanly, without tearing.
- A hobby knife — for trimming mould lines, those faint raised seams left where the mould halves met. Removing them is the difference between a clean basecoat and a striped one.
- A file or sanding stick — for smoothing larger seams and resin nubs.
- Plastic glue or super glue — to assemble multi-part models before priming.
None of these are expensive, and a basic set lasts years. Prep is the unglamorous step that makes everything after it look better.
Light and magnification
The upgrade that helps painting most is good light. A daylight-balanced LED lamp shows true colour and cuts the eye strain of a long session, so your highlights and shades read correctly instead of looking off once you step into daylight. A magnifier — a lamp with a built-in lens or a visor — helps enormously with fine detail and small scales, and it is one of the kindest things you can do for your eyes. Neither is a day-one essential, but both are early upgrades worth making.
The airbrush question
An airbrush is not a beginner purchase, and you are not behind for hand-brushing. Where it earns its place is speed and smoothness at scale: priming and basecoating a whole batch in minutes with an even finish that is hard to match by hand. If you paint armies or print models faster than you can paint them, an airbrush changes the maths.
It adds cost — the airbrush plus a compressor — a cleaning routine after every session, and a genuine learning curve. Learn to thin paint and hand-brush first, then add an airbrush when batch work starts to feel like a chore.
How to read airbrush specs
Airbrush listings throw a lot of numbers at you. For miniatures, four specs decide the fit.
- Needle size — a finer needle (around 0.3mm) suits detail and is the common all-rounder; wider needles spray faster but coarser, better for priming than fine work.
- Feed type — gravity feed (cup on top) is the usual choice for miniatures, sips less paint and cleans easily; siphon feed (bottle below) holds more paint for large jobs.
- Trigger — a dual-action trigger controls air and paint separately for finer results; single-action is simpler but blunter.
- Cup size — a small cup is fine for minis and easy to clean; a larger cup suits priming batches without refilling.
Featured guides
The current published guides in this silo. More land each batch.
Landing next: Best magnifying lamp, Best hobby knife, Best clippers, and Best cutting mat.
For different painters
For a complete beginner
A pair of clippers, a hobby knife and a desk lamp you already own get your first models prepped and painted. Skip the airbrush for now — the starter guide explains why a brush comes first.
For batch and army painters
This is where an airbrush pays off, priming and basecoating large numbers fast. Pair it with one-coat high-pigment paints from the paints hub for the quickest route to a tabletop-ready force.
For detail and display painters
A magnifier and a daylight lamp matter more than an airbrush here, letting you see and control the fine work. A fine-needle airbrush has its place for smooth coats and subtle fades once your control is there.
What to buy, and when
The fastest way to waste money in this hobby is to buy the exciting tool before the boring one. The sensible order is to start with prep tools and good light, because they make every model you paint come out cleaner: clippers and a hobby knife to remove parts and mould lines, and a lamp you can see by. Add a magnifier next if your eyes or the scale ask for it — it is kinder to your eyes than any other upgrade. Leave the airbrush until last, once hand-brushing and thinning are second nature and batch work has started to feel slow. Bought in that order, each tool earns its place before the next arrives, and you never have an expensive airbrush sitting unused while you are still learning to thin paint.
The real cost of an airbrush
An airbrush is rarely a single purchase, and it helps to know that going in. The airbrush itself is only part of it: you also need a compressor to supply steady air, paint thinned to spray, cleaning supplies for after every session, and — non-negotiable — proper ventilation and a fitted respirator. Many beginner options bundle the airbrush and a small compressor as a kit, which is the simplest and usually cheapest way to start, so check whether a listing is a kit or a standalone airbrush before comparing prices. Factor in the cleaning time too: an airbrush left dirty clogs and sprays badly, so a few minutes of cleaning after each use is part of the deal. None of this is a reason to avoid one — it is a reason to buy it when batch painting genuinely warrants it, eyes open.